Wondering how to mend clothes without any sewing experience? Learn three stitches: sew on a button, close an open seam and darn a hole. They need only a needle, thread and patience.
This guide is part of our wider series on how to care for clothes.
| Item | Key fact |
|---|---|
| Thread length for a button | 18-24 inches |
| Wraps under the button for a shank | 3-5 times |
| Where to sew a broken seam | Along the same line as the original stitching |
| Darning a hole in knitwear | Weave thread in and out of the existing weave |
| Iron-on patching | No sewing involved |
These figures come from University of Arkansas extension guidance and a brand repair guide. Guidance can change, so check the sources before you rely on them.
Why mending is worth learning
A loose button, an open seam or a small hole is rarely the end of a garment. As one repair guide puts it, minor damage can often be repaired.
Fixing a garment keeps it in your wardrobe longer, which is the simplest form of sustainable fashion.
Repairs also go better on clean fabric. If a stain is what sent the garment to the back of the closet, try how to remove stains from clothes naturally before you pick up a needle.
What you need in a basic mending kit
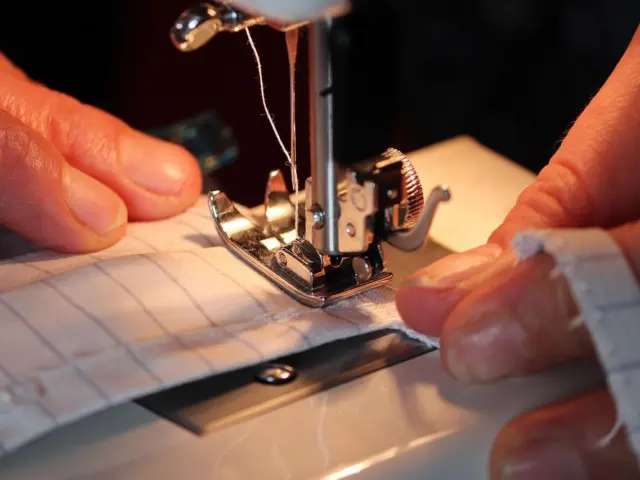
The button, seam and darning repairs described here can be done by hand. The iFixit mending guide notes that you don’t need a sewing machine for all of them.
A small kit covers nearly every job in this guide:
- Hand needles and a needle threader
- Thread in a few basic colours that match your wardrobe
- Sharp scissors and straight pins
- A seam ripper
- Spare buttons, kept from new garments
- Tailor’s chalk for marking positions
- Iron-on patches for quick fixes
Match the thread colour as closely as you can. Where you cannot, go slightly darker rather than lighter, because darker thread tends to disappear into fabric.
How to mend clothes with a loose button
Sewing on a loose button is a straightforward repair to learn. iFixit says that when you look at a button close-up, you’re looping thread through the holes.
The University of Arkansas guide says to cut 18-24 inches of thread, which is enough to pass through the holes several times without tangling. It lists a needle and matching thread, scissors and a button, with straight pins and a thimble as optional extras. Follow these steps:
- Cut thread to the length the guide gives, then thread the needle and knot the end.
- Hold the button where you want it. On a shirt or jacket, line it up with the matching buttonhole.
- Lay a pin across the top of the button, between the holes, if the fabric is thick or the button needs a shank.
- Stitch down through one hole and up through the next. Go criss-cross on a four-hole button.
- Remove the pin and wrap the thread around the stitches under the button several times.
- Knot the thread on the back of the fabric.
The extension guide says to wrap the thread under the button 3-5 times to create a shank, which it describes as a bit of slack so the button is easier to fasten. The iFixit author adds that marking button placement with chalk is one of the steps people skip.
Thick coats and trousers take more strain. Use a sturdier thread there, and consider wrapping at the high end of that range.
How to repair an open seam
A seam that has split along its stitching is a quick job, as long as the fabric itself is intact. If the cloth around the seam is frayed or torn, a patch or reinforcement is needed as well.
The repair guide from Muesli Care gives a simple method: remove any old thread from the broken seam, then sew along the same line as the original stitching. Use these steps:
- Turn the garment inside out so you can see the seam.
- Pick out loose threads with a seam ripper or the tip of your scissors.
- Pin the two edges together, matching them as they were.
- Sew small, even running stitches along the old stitch line. Start a little before the split and end a little after it.
- Finish with a loop and a knot, then trim the thread.
Small, even stitches hold better than long loose ones. Press the seam flat with an iron when you finish, and check that the thread is not pulling the fabric into puckers.
How to fix a hole: darn, patch or iron on
The right fix depends on the fabric and where the hole is. Woven cloth such as denim or cotton poplin suits a patch, while knitwear suits darning.
iFixit says that darning fills a hole with interlaced repair threads anchored in the surrounding fabric. The same article says iron-on patching involves no sewing.
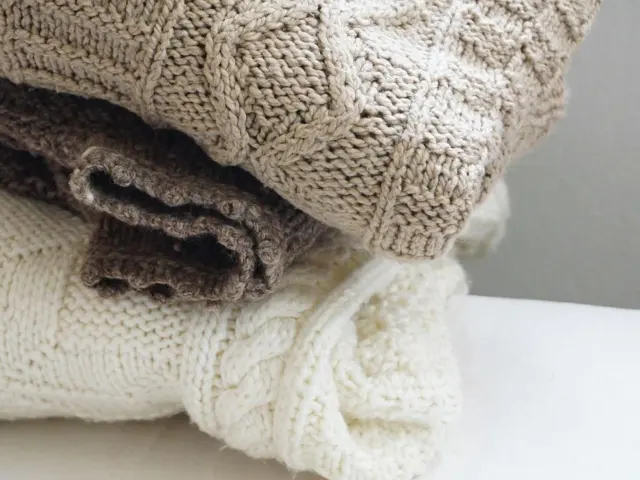
Darning knits
Work in rows across the hole, then weave thread through those rows at right angles. Start and finish in sturdy fabric beyond the edge of the hole, so the weak area around it is reinforced too.
Pick a thread with a similar weight to the knit. Wool jumpers repair well this way, and our guide to how to wash wool sweaters helps you avoid the shrinking and felting that make holes worse.
Patching woven fabric
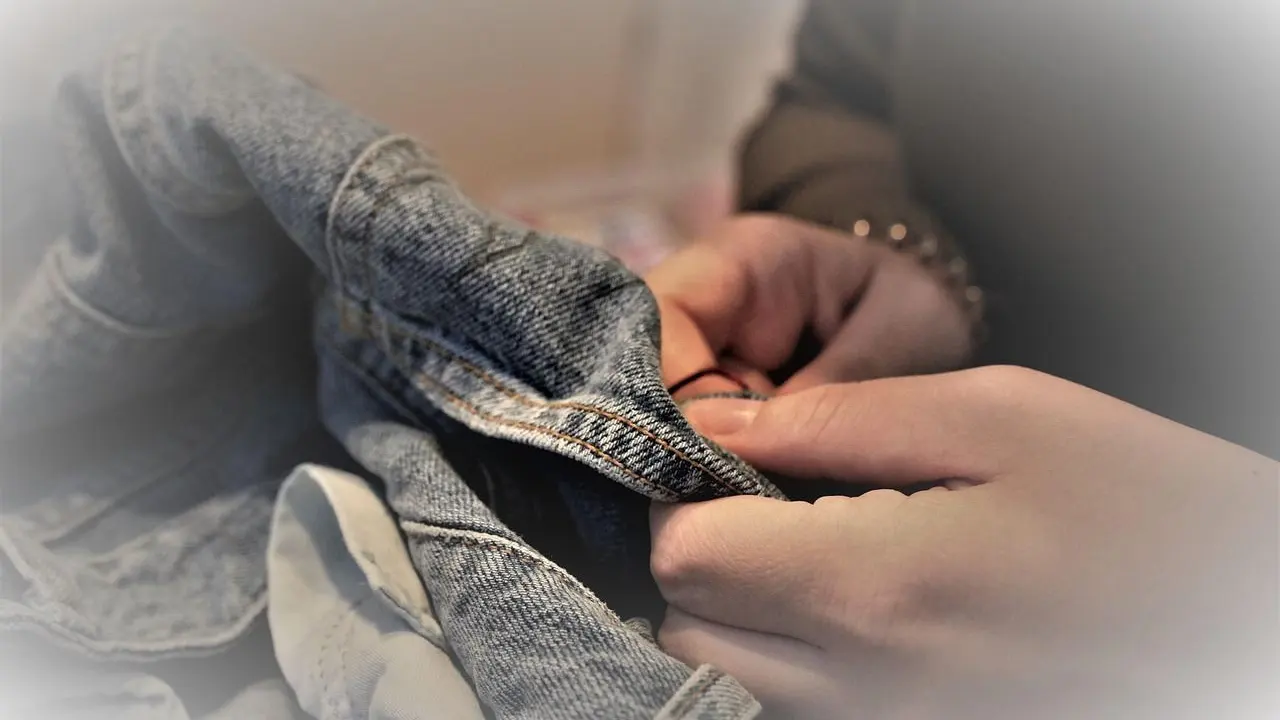
For jeans, trousers and shirts, you have two routes. An iron-on patch needs no sewing. A sewn patch lasts longer in places that flex, such as knees and elbows.
- Trim loose threads around the hole first.
- Cut the patch larger than the hole on all sides.
- Pin or iron it in place, then stitch around the edges.
Habits that make repairs last
Mend small problems early, before they grow. Strain concentrates on whatever is still holding, so one weak button or a few open stitches soon puts pressure on the fabric beside it.
It also helps to look at why the damage happened. Rubbing at the knees, a pocket overloaded with keys or a button on a tight waistband will wear out the same repair again unless you change the habit.
A loose button or a few open stitches take minutes, while a seam left to pull apart can tear the fabric itself.
Keep a repair pile in one place and tackle it in a single sitting, with the kit already out. Check buttons and seams when you wash and fold clothes, and fix problems before the garment goes back into the wardrobe.
Frequently asked questions
Do I need a sewing machine to mend clothes?
Show answer
No. Buttons, seams and darning can all be done by hand with a needle and thread, and iron-on patches need no sewing at all.
How much thread should I use to sew on a button?
Show answer
Cut a length you can handle comfortably, and knot the end. Very long thread tangles easily, so a forearm-plus length is easier to work with than a whole reel.
What is a shank and why does it matter?
Show answer
A shank is a little slack of thread between the button and the fabric. It lets the button sit on top of the buttonhole layer and makes it easier to fasten.
Should I darn or patch a hole?
Show answer
Darning suits knitwear, since it weaves thread back into the knit. A patch suits woven fabrics such as denim and cotton poplin.